
A DIY project at home relies on three pillars: the choice of the appropriate material for the support, the right tool for the task, and the preparation of the work area. Neglecting any of these three elements is enough to turn a simple repair into a laborious job. This article details the technical fundamentals that separate a clean result from a rough one, focusing on concrete mistakes to avoid.
Support-material compatibility: the diagnosis before the first drill bit
Before buying anything, identifying the nature of the support conditions everything else. A plug suitable for drywall won’t hold in hollow concrete blocks, and a wood screw in a metal stud won’t secure anything at all.
Further reading : The best tips to enhance the comfort and safety of your home
The most reliable test remains a trial drilling. Drill a small diameter hole in a discreet area: the color of the dust indicates the nature of the wall. Fine white dust for plaster, gray and grainy for concrete, red for solid brick. This diagnosis takes thirty seconds and avoids having to buy a batch of incompatible plugs.
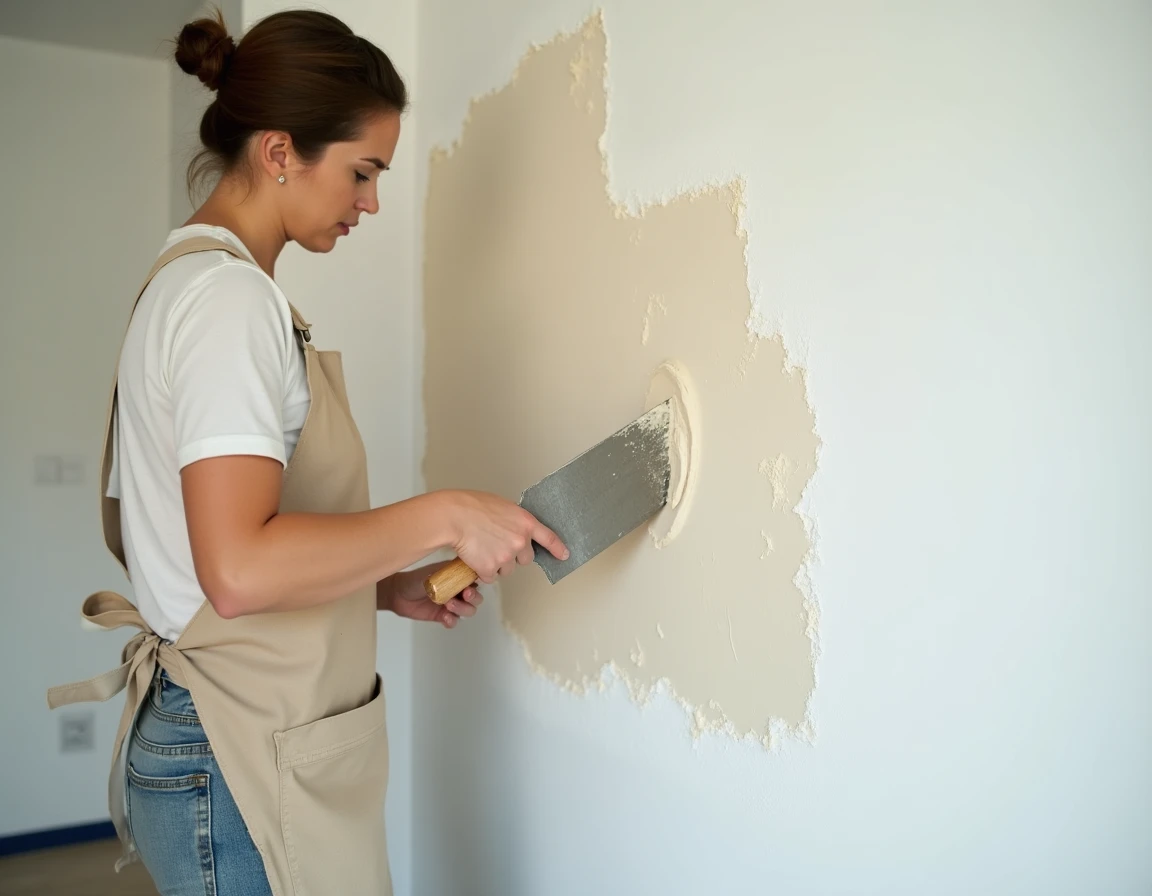
For painting projects, the preparation of the support matters more than the brand of the paint can. A poorly sanded or uncleaned wall causes blisters with the second coat. On raw wood, a blocking primer prevents tannins from rising and yellowing the finish, a common problem with resinous species like pine or spruce. Specialized resources compile this type of technical guidance, for example on https://mulot-bricole.com/ which gathers practical sheets and material guides.
Read also : Sleeping with Your 4-Year-Old: Tips and Recommendations for Peaceful Nights
Cordless power tools: building a coherent battery ecosystem
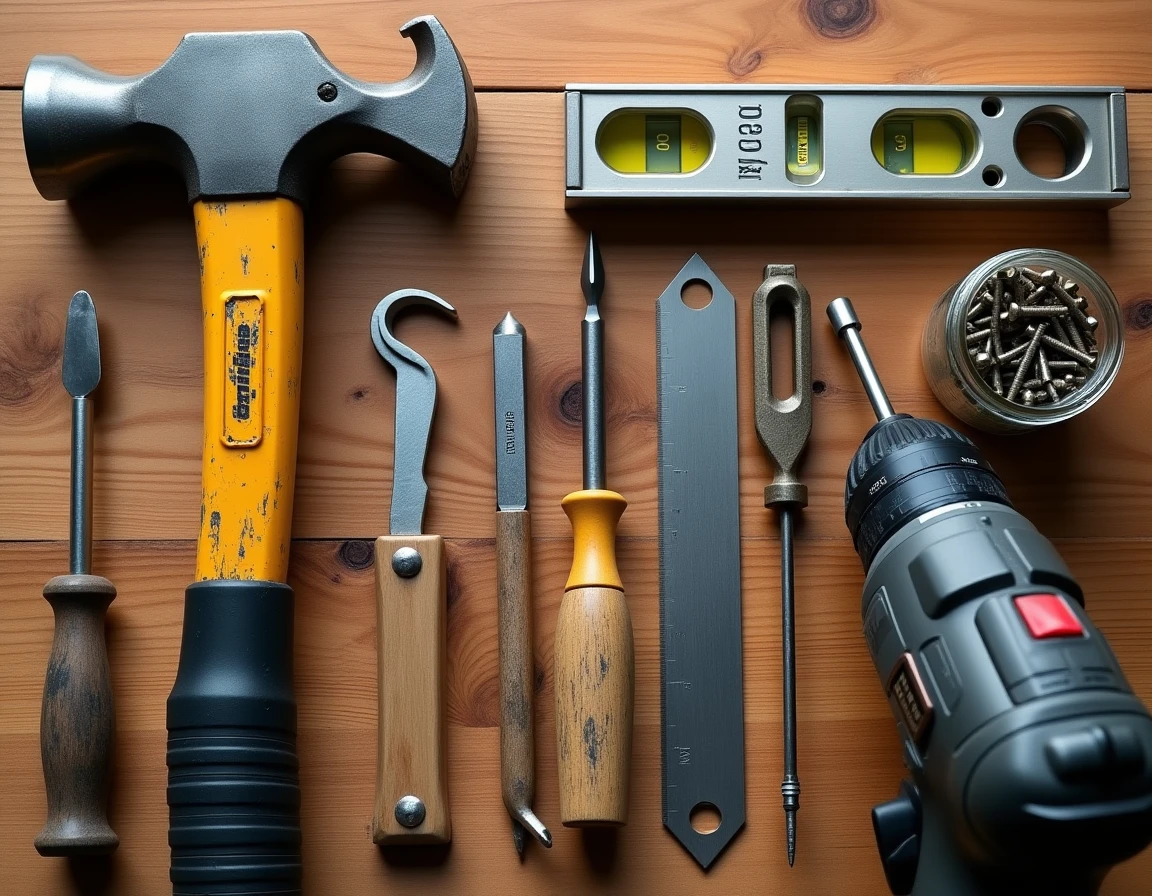
The rise of cordless power tools in 18V or 20V has changed the way to plan DIY projects. In recent years, retailers have noted a significant increase in demand from individuals renovating their own interiors.
The classic mistake is to buy each tool as needed, without checking battery compatibility. A drill from one brand, a jigsaw from another, a sander from a third: three different chargers, three battery formats, an unnecessarily inflated budget.
Criteria for choosing a battery ecosystem
- Check that the range offers at least the four basic tools (drill-driver, jigsaw, sander, grinder) on the same battery platform
- Prefer packs with two batteries: one charges while the other works, avoiding interruptions on a multi-hour project
- Compare the number of ampere-hours (Ah) rather than just the voltage, as it’s the actual runtime that determines working comfort on hard materials like solid wood or concrete
For a one-off project requiring a specialized tool (floor sander, table saw, rotary hammer), renting between individuals is on the rise. Renting a professional tool for a single job costs a fraction of its purchase price, and dedicated platforms see spikes in demand over long weekends.
Safety and insurance: what the amateur DIYer often forgets
Emergency service data indicates an increase in injuries related to amateur DIY during telework and holiday periods. Hands and eyes remain the most affected areas.
Three pieces of protective equipment drastically change the level of risk:
- Wrap-around safety glasses (not just regular prescription glasses) for any drilling, grinding, or sawing work
- Appropriately rated cut-resistant gloves, especially for cutting sheets or handling metal
- Hearing protection as soon as the tool exceeds the comfort sound threshold, which includes most circular saws and rotary hammers
Beyond physical safety, an often-overlooked aspect concerns home insurance. Since 2023, the French Insurance Federation reminds that DIY work can limit compensation in case of a claim if electrical or gas standards are not respected. Keeping before/after photos, material receipts, and installation instructions constitutes a proof file that protects in case of disputes.
Preparing the workspace: the often neglected factor
A clear and well-lit work area reduces measurement errors and imprecise actions. Working on the floor in a dark hallway with a phone flashlight between your teeth is the typical scenario for cutting crookedly.
The simplest rule to apply: clear a two-meter perimeter around the cutting or drilling area. This avoids tripping over an extension cord or knocking over a paint can while stepping back.
Dust management on indoor sites
Sanding and cutting drywall generates fine dust that settles everywhere and infiltrates electronic devices. A workshop vacuum directly connected to the sander’s outlet captures most particles at the source. This precaution also protects the respiratory tract, a point that occasional DIYers consistently underestimate.
For painting projects, covering the floor is not always enough. Splashes reach baseboards, door frames, and switches. Repositionable masking tape applied the day before (for better adhesion) saves more time on cleanup than it costs to apply.
Successfully completing a DIY project at home relies less on manual skill than on preparation rigor. Diagnosing the support, choosing coherent tools, protecting your eyes and hands, documenting your work for insurance: every step skipped at the outset pays off in the final result. The photographic proof file, in particular, remains the least common and most useful reflex in case of resale or claims.